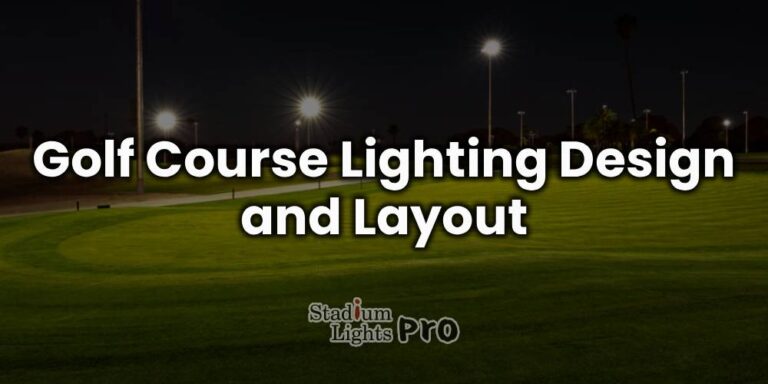

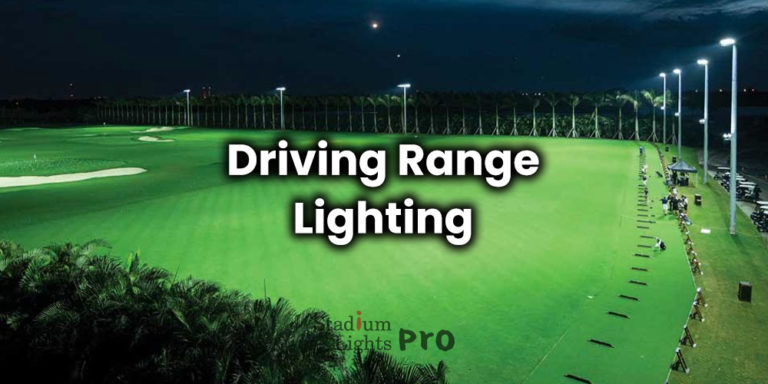
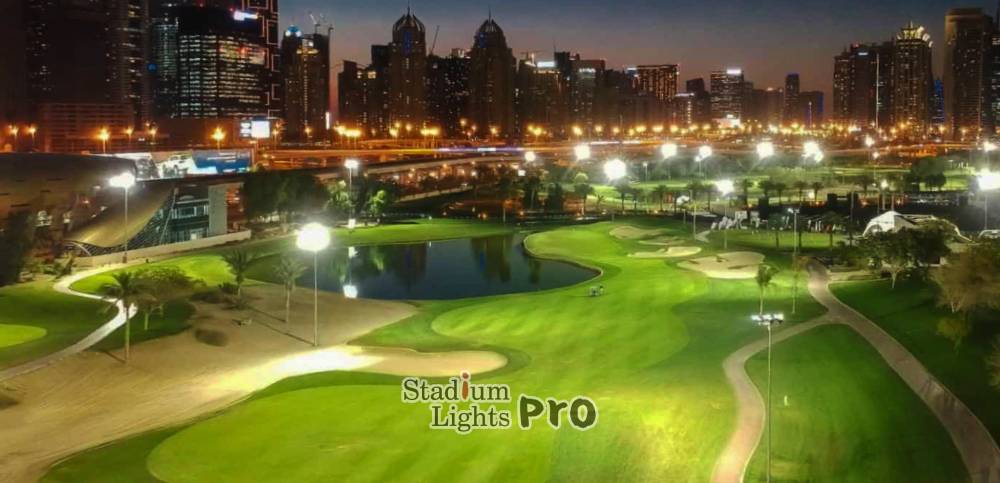
Golf Course Lighting Design Guide
Getting golf course lighting right isn’t just about throwing up some floodlights and hoping the ball doesn’t vanish into the night sky. To build a solid lighting plan, you need to understand the key metrics — illuminance levels, uniformity, color temperature, glare control, and how all these pieces work together. Let’s break it down step by step so it makes sense even if you’re not an electrical engineer.
Lux and Footcandles – How Bright Is Bright Enough?
First off, lux (lx) is the standard metric measuring the amount of light falling on a surface per square meter. If you’re more used to the old-school imperial system, footcandles (fc) measure the same thing per square foot, where 1 fc equals about 10.76 lux.
Now, what does this mean for a golf course? Designers talk about horizontal illuminance (light on the ground) and vertical illuminance (light on things like the ball in mid-flight or a player’s body). Both matter, but for golf, the horizontal numbers usually get the spotlight because you need to see the ground clearly.
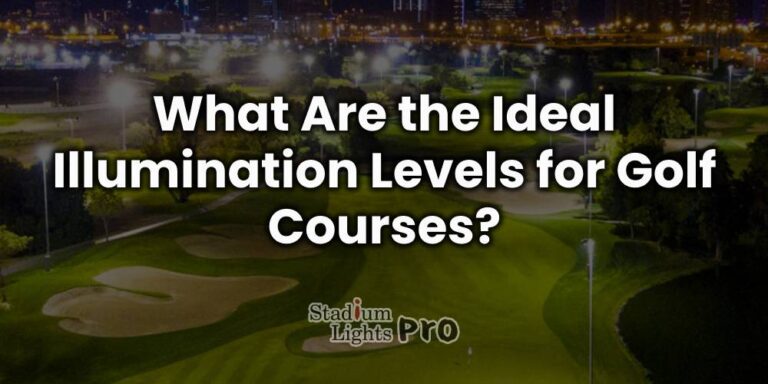
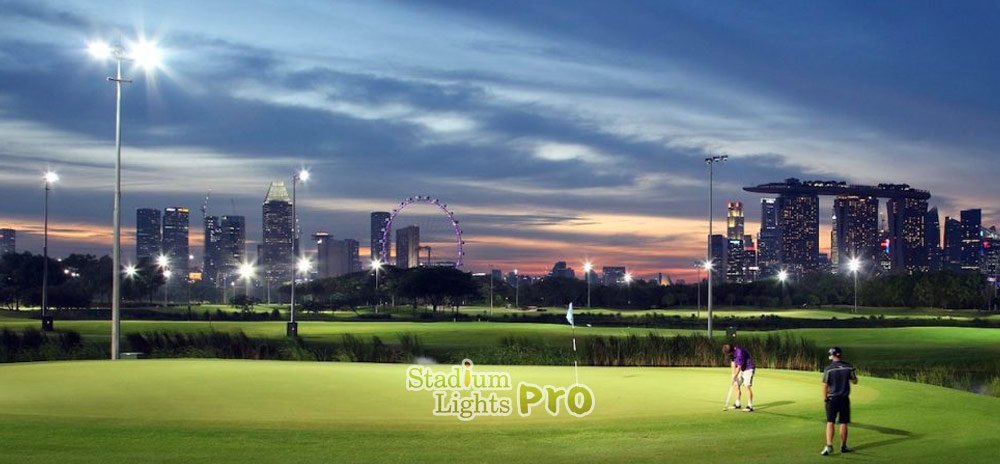
On fairways, you’ll typically see designs aiming for somewhere between 70 and 100 lux on the ground. That level makes it easy for players to track the ball after it lands, read the terrain, and avoid hazards. Go below 50 lux, and things start feeling dim and patchy. On the other hand, pushing above 150 lux on a fairway might make it feel like a sports stadium — overkill for most courses unless you’re hosting tournaments.
On greens and tees, the bar goes higher. Many layouts aim for 200 to 300 lux because putting is all about precision — players need to see subtle slopes, grass texture, and ball roll. Some premium venues go even further, with 500–1,000 lux on greens for televised events where cameras need crystal-clear visuals.
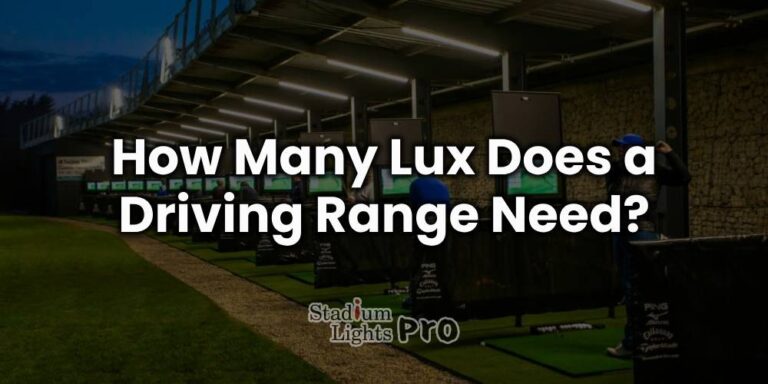
Driving ranges often land in the 120–150 lux horizontal range, but designers also factor in at least 50 lux vertical illumination so players can track the ball mid-air, especially when it flies against a dark sky.
So, the takeaway: you pick your target illuminance based on whether the course is for casual evening play, professional practice, or full-on televised tournaments. Each step up in lux means more fixtures, higher wattage, or tighter spacing — all of which affect cost.
Uniformity – Keeping the Brightness Even
Raw brightness alone doesn’t cut it. If some parts of the course glow like a spotlight while others fade into the shadows, players complain, eyes strain, and the course just feels off. That’s why designers chase uniformity — basically, how evenly light spreads out.
The common metric here is the max-to-min ratio. For casual play, many go for 2:1, meaning the brightest point is at most twice as bright as the darkest. For championship or TV-level courses, designers sometimes push for 1.5:1 or even 1.3:1, so brightness barely varies across the whole area.
Some projects also calculate the uniformity ratio (average-to-minimum) and the coefficient of variation (CV) — lower CV means smoother lighting without harsh transitions. Numbers under 0.30 CV are usually considered pretty good for outdoor sports lighting.
Uniformity doesn’t just happen by luck. It comes from smart pole placement, proper beam overlapping, and sometimes adding backlight or fill light from secondary angles to kill off shadows.
Color Temperature and CRI – Making the Course Look Natural
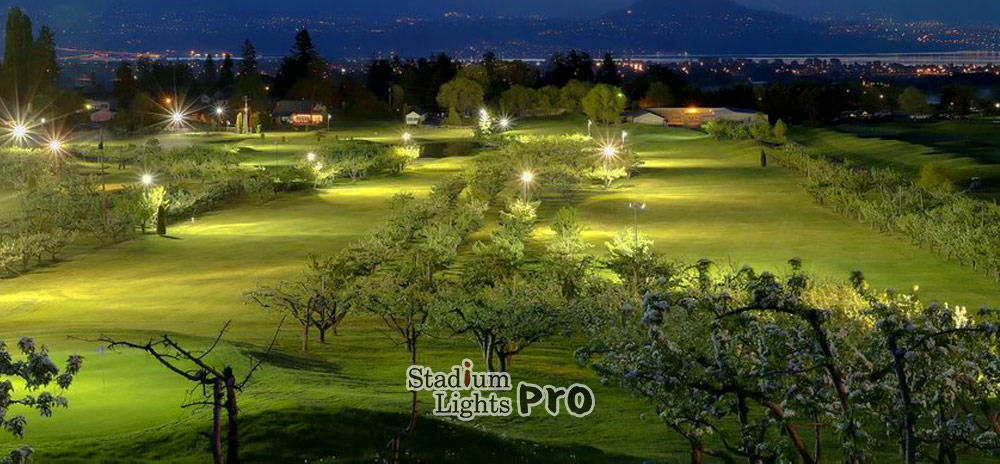
Brightness alone can feel sterile if the color temperature is off. Measured in Kelvins (K), this tells you whether the light feels warm yellow or cool white. For golf courses, most modern systems use 4000K to 6000K — a neutral to daylight white tone that gives good ball visibility without feeling cold or clinical.
Another piece is the Color Rendering Index (CRI), scored from 0 to 100, showing how accurately colors appear under the light compared to daylight. A CRI above 70 is common for outdoor sports, while anything 80+ makes greens, flags, and fairways look more natural — a big deal if you’re hosting televised events or just want the course to look stunning at night.
Imagine putting on a green where everything looks gray and flat — that’s what happens if CRI is too low. Players lose depth perception and struggle to judge slopes or textures.
| Zone / Area | Lux / Footcandles | Uniformity (Max/Min Ratio or CV) | Color Temperature (K) |
|---|---|---|---|
| Fairways | 70–100 lx / 6.5–9.3 fc | 2:1 | 4,000–6,000 |
| Greens & Tees | 200–300 lx / 18–28 fc | 2:1 | 4,000–6,000 |
| Premium / TV Greens | 500–1,000 lx / 46–93 fc | 1.3–1.5:1 | 4,000–6,000 |
| Driving Range (horizontal) | 120–150 lx / 11–14 fc | 2:1 | 4,000–6,000 |
| Driving Range (vertical) | ≥50 lx / ≥4.6 fc | 2:1 | 4,000–6,000 |
Glare and Spill Light – Keeping It Comfortable
Too much brightness in the wrong place isn’t just wasteful — it’s annoying. Glare happens when a light source is so intense in your line of sight that it causes discomfort or even temporary blindness. Designers often check the glare rating (GR) or Unified Glare Rating (UGR) to keep it under control. A GR below 50 is usually acceptable for outdoor sports; lower is better if players look toward the lights while swinging.
Then there’s spill light — when beams shoot past the fairway into nearby houses, roads, or the clubhouse windows. Not great for neighbor relations or for safety if it blinds drivers.
To fix this, designers use cutoff optics, visor shields, and tighter beam control so the light footprint stays inside the course boundaries. Pole aiming angles also matter: tilt too high, and the beam shoots into the sky; too low, and you waste brightness on a small patch while everything else stays dark.
Some courses also add dimming controls or zoning so certain areas run at lower output when not in play, cutting glare and saving energy.
Layout Guide – Poles, Spacing, Light Counts, and Wattage
Once you know your lux targets, uniformity ratios, and glare limits, the next step is figuring out where to put the poles, how tall they should be, how many lights you need, and how much power each one should have. This is where design gets both technical and a bit of an art form — because the numbers give you a starting point, but the terrain, course layout, and budget push you to adjust things until it all works in the real world.
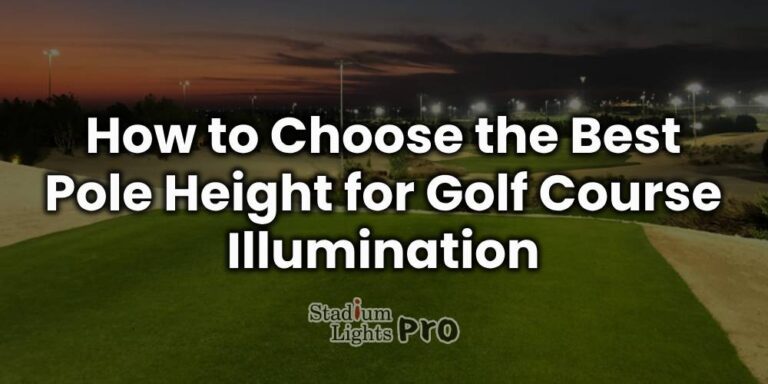
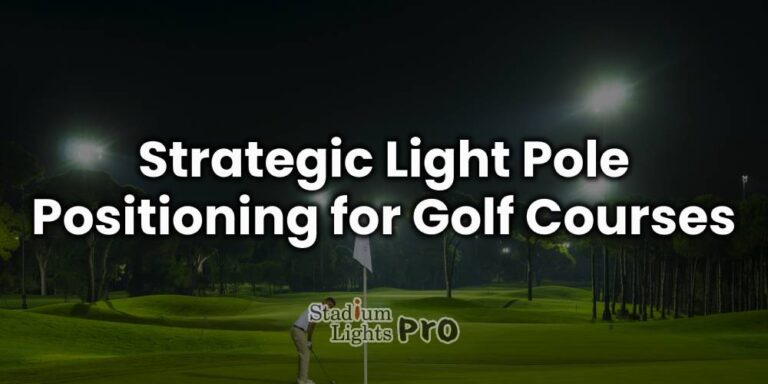
Pole Heights and Spacing
Pole height and spacing are joined at the hip. Raise a pole higher, and the beam spreads wider, so you can space them farther apart. But here’s the catch: if the optics aren’t tight enough, the light spills where it shouldn’t, or the brightness thins out before it hits the ground. Keep poles too low, and you have to pack them closer together, which drives up costs and can cause glare if aiming angles overlap too aggressively.
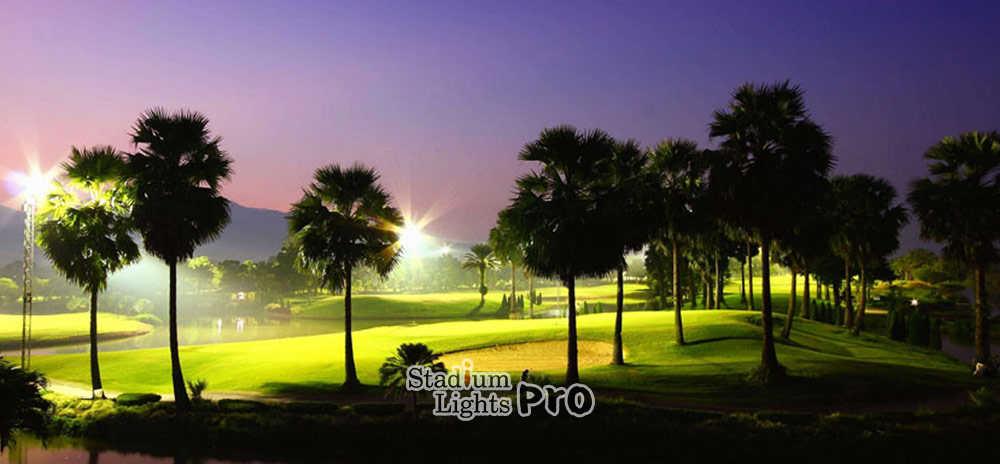
For most golf courses, 30–40 ft poles along fairways and around greens are pretty common. They give a decent balance between spread and control. If you’ve got a driving range or really deep shots where the ball flies hundreds of yards, some designers go for 50–60 ft poles at the back corners so the light reaches farther downrange.
Spacing usually lands somewhere between 60 and 120 feet, depending on the pole height, beam spread, and how powerful each fixture is. For example, if you’ve got 35-ft poles with LEDs pushing out solid output and a 60° beam spread, you might go 80–100 ft apart and still keep the light uniform. Drop to 25-ft poles, and you might tighten spacing to 60–70 ft so you don’t get dark gaps in between.
The goal is beam overlap — you want each light to blend smoothly with the next so there’s no hard edge or shadow seam across the fairway. Designers often aim for 10–20% overlap on the ground so even if one fixture goes out, you don’t get a totally dark patch.
How Many Lights Per Hole or Area
Light counts depend on the size of the area, target lux levels, and the aiming strategy. Take a long par-5 fairway: you might run a series of poles down both sides with each pole carrying one or two fixtures aimed across the playing surface. Around greens or tees where precision lighting matters more, you might load two or three fixtures on a single pole, each aimed differently, so you kill off shadows and hit that 200–300 lux target from multiple angles.
Some layouts even stagger poles so the beams crisscross from opposite sides, giving a softer, more even light without stacking too many fixtures on the same side.
Redundancy matters too. If one light fails, you don’t want a giant dark hole in the middle of your fairway. That’s why designers use overlapping aiming patterns — so neighboring poles cover each other’s weak spots.
Wattage, Lumens, and Fixture Output
Here’s where people sometimes get mixed up. Wattage is how much power you’re using. Lumens tell you how much light actually lands on the course. With modern LEDs, you can pump out a lot more lumens per watt compared to old metal halide systems.
For instance, older setups might have used 2,000–2,500W metal halide fixtures throwing out 150,000 lumens each. A modern 1,000W LED can now hit the same or better output while saving you 40–60% in energy costs. Some premium LED floodlights push 200,000 lumens at around 1,500W, letting you cover massive areas with fewer poles.
The trick is picking fixtures strong enough that you don’t need a forest of poles, but not so powerful that you end up with glare bombs right where players are trying to hit. Many designers now run simulations to dial this in — using software like Dialux or AGi32 to map lux levels across the course, tweak beam angles, and adjust wattage until the photometric plan hits the numbers.
| Parameter | Typical Range / Value |
|---|---|
| Pole Height | 30–60 ft |
| Pole Spacing | 60–120 ft |
| Fixtures per Pole | 1–3 |
| Fixture Wattage | 800–1,500 W |
| Fixture Lumens | 20,000–200,000 lm |
| Beam Overlap on Ground | 10–20% |
| Max/Min Uniformity Ratio | ~2:1 |
A Practical Example with Real Numbers
Let’s say you’ve got a par-4 hole with a fairway 100 ft wide and 400 yards long. You decide on 35-ft poles with LED fixtures producing 20,000 lumens each. The optics cover a 60-ft radius comfortably before the light drops below your target lux level.
You might place poles every 80 ft along both sides, so the beams overlap by about 10–15 ft on the ground. That gives you five or six poles per side down the length of the hole. Around the green, where you need 200–300 lux, you might add extra fixtures on closer-spaced poles — maybe 25–30 ft apart — or double up fixtures on the same pole with tighter beam angles.
Once you feed this into the software, you can tweak aiming so no one spot is more than 2× brighter than another, keeping the max/min uniformity ratio around 2:1. That balance avoids harsh glare near the poles while keeping the whole fairway comfortably bright for play.
Challenges When Replacing or Upgrading Lights
Switching a golf course from older lights — like metal halide or high-pressure sodium — over to modern LED systems sounds simple on paper. You save energy, get better light quality, and cut maintenance. But the reality is, when you start swapping things out, you often uncover surprises that push the project beyond just a “fixture-for-fixture” change.
Mixing New Lights with Old Systems
If you aren’t ripping everything out at once, you’ll have new LEDs side-by-side with old tech for a while. And here’s the problem: LEDs often run at 4000–6000K color temperatures with much higher CRI values than older lights, which can make some areas look brighter, cooler, or sharper than others.
For example, if half the fairway runs on old metal halides at 3000K and the other half on modern LEDs at 5000K, players will definitely notice the difference. The ball might look yellowish in one zone and crisp white in another. To fix that, you sometimes need dimming controls, new aiming angles, or even lens filters to help blend the two systems until the full upgrade is complete.
Structural Surprises in Older Courses
Lots of older courses have 20–30-year-old poles with aging foundations. Those poles might have been designed for 80–100 lb metal halide fixtures but not for heavier, bulkier LED floodlights with multiple modules. Sometimes the wind load rating isn’t enough for modern gear.
That means you may have to pour new concrete bases, upgrade to taller poles, or replace underground wiring that can’t handle the new 0–10V dimming controls or higher amperage loads. Suddenly, what started as a “fixture swap” turns into civil engineering work, with costs climbing fast.
Glare, Spill Light, and Neighbor Complaints
One thing many courses don’t anticipate is how different beam optics on LEDs can change spill light patterns. Older lights might have had wider but softer beams; new LEDs often have tighter, higher-intensity beams.
If you just drop LEDs onto old poles without re-aiming, you might throw stray light into nearby houses, roads, or even water hazards you didn’t hit before. That leads to complaints, or worse, municipal restrictions. The fix? Shielding visors, custom optics, and re-aiming every fixture — sometimes even changing pole locations — so you keep all that light where it belongs.
Re-Designing the Lighting Layout
Many people assume new fixtures = better lighting automatically. Not always. Because LEDs have different beam spreads, mounting heights, and photometric profiles, your old layout might leave you with dark seams or uneven coverage after the upgrade.
That’s why most designers now run photometric simulations before and after upgrades. You might discover you need extra poles on a par-5 fairway or that you can remove a few because modern LEDs cover more ground. Either way, the layout usually changes at least a little.
Managing Downtime and Disruptions
Golf courses don’t like closing, especially in peak season. But pole replacements, wiring trenches, or re-aiming crews mean sections of the course can be out of action for days or even weeks.
Some projects try to stage work so only a few holes are dark at a time. Others use temporary lighting towers for night play until everything’s done. Still, scheduling around weather, tournaments, and member play can be a headache.
Golf Course Lighting Cost Overview
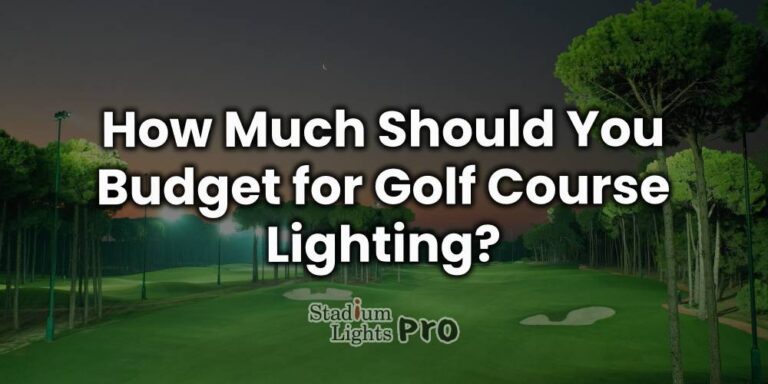
When you start talking about lighting an entire golf course, the first question almost always is: how much is this going to cost? And it’s a fair one because the price tag isn’t just the lights themselves. It’s the poles, the wiring, the installation crew, and even the energy bills that keep stacking up after everything is installed. Let’s break it down so you have a realistic picture of what the money side looks like.
| Category | Typical Range / Value |
|---|---|
| LED Fixture Cost | $1,000–$3,000 per unit |
| Number of Fixtures | 50–100+ units |
| Installation Cost | 30–100% of fixture cost |
| LED Wattage per Fixture | 800–1,000 W |
| Annual Energy Cost (Example) | ~$7,300/year for one section |
| Maintenance Cost | 1–3% of capital cost per year |
Light and Fixture Costs
High-power LED floodlights for golf courses aren’t cheap. A single 1,000W-class LED fixture can easily run between $1,000 and $3,000, sometimes even higher if you want top-tier optics, smart controls, or fixtures with IP66 weather ratings for tough environments.
Now, let’s say your course needs 80 fixtures at around $2,000 each. That’s $160,000 right there — before you’ve even touched the poles or the electrical work. And if you’re covering a full 18-hole course plus a driving range, the fixture count can climb well past 100 units, especially if you’re aiming for 200–300 lux on greens and tighter zones.
Installation, Electrical, and Civil Work
Here’s where a lot of people get surprised: installation often costs as much as the lights themselves.
Think about it — you’re digging trenches for wiring, pouring concrete foundations for poles, running conduit, installing control cabinets, and paying for skilled electricians who know what they’re doing. All of that adds up.
Depending on your site conditions and labor rates, you can expect installation to tack on 30% to 100% of the fixture cost. So if you just spent $150,000 on lights, you might see another $75,000–$150,000 in civil and electrical work before the first switch even flips on.
Running and Energy Costs
This is where LEDs really start earning their keep. Older systems using 2,500W metal halide lamps chewed through electricity like crazy. Modern LEDs can often deliver the same or better light using 800–1,000W per fixture — sometimes even less if you optimize the aiming and uniformity.
Let’s run some simple math.
- 50 fixtures × 0.8 kW × 5 hours per night = 200 kWh per day.
- At $0.10 per kWh, that’s $20/day, or about $7,300/year for that section of the course.
If the old system used three times the energy, you’re looking at 50–70% savings on power bills alone. Over ten years, that’s a lot of money staying in your pocket instead of going to the utility company.
Maintenance Costs
LEDs last a long time — 50,000 to 100,000 hours isn’t unusual — but nothing is truly “maintenance-free.” Over the years, lenses get dusty, drivers wear out, and sometimes a fixture or two takes a lightning hit.
Older metal halide setups were worse because you had to replace bulbs and ballasts every few thousand hours. With LEDs, most courses now budget 1–3% of the original system cost per year for maintenance, including things like lift rentals for tall poles, occasional re-aiming, and parts replacements.
Depreciation and System Renewal
Golf course lighting isn’t forever. In 10–15 years, you might want to upgrade again for better efficiency, smarter controls, or just because your original system starts to fade.
If you choose a modular lighting system, you can often just replace the LED engines or drivers without ripping out poles and wiring. If you go with proprietary fixtures where everything is integrated, you might be back to square one when the next upgrade cycle comes around.
Conclusion
Golf course lighting is a dance of engineering, optics, human perception, and dollars. The numbers — lux, uniformity, wattage, spacing — are your tools, but your real aim is creating an experience that feels as natural at night as it does in daylight.
When you’re planning or upgrading, lean heavily on simulation, walk the space at night, and always consider future changes. With thoughtful design, you can turn your course into a stunning nocturnal playground — visually comfortable, energy-wise, and ready to create memorable evening rounds.