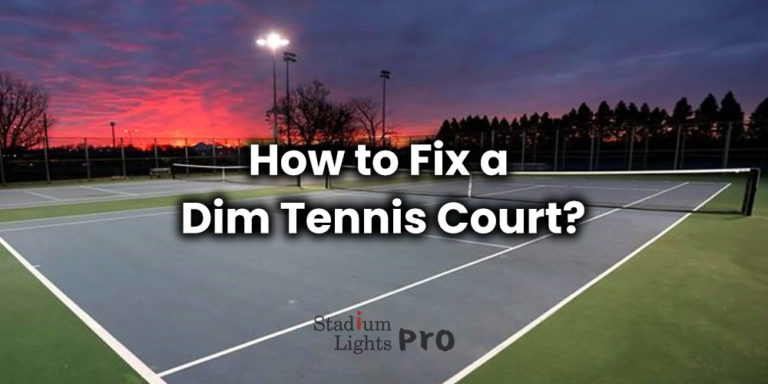


Tennis Court Lighting Design Guide
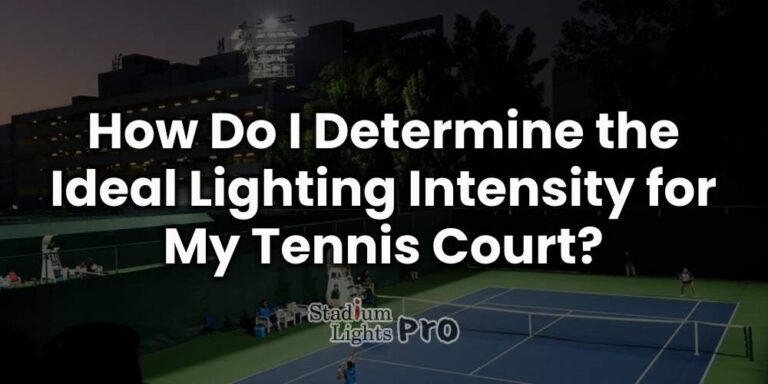
So, what actually goes into designing a great tennis court lighting setup? It’s not just about making the court bright enough. The goal is to create a setup where players can clearly see the ball, judge its speed, and react comfortably — all without squinting or dealing with shadows. A proper design balances lux levels, color temperature, uniformity, glare control, and fixture layout. Each of these plays a role in how enjoyable and fair the game feels under the lights.
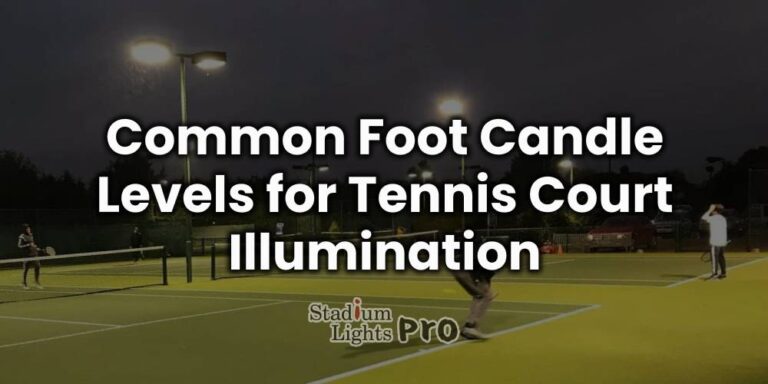
Lux and Footcandle Requirements
When we talk about brightness, we usually measure it in lux (lx) or footcandles (fc) — both describe how much light hits the playing surface. One footcandle equals roughly 10.76 lux, and these numbers matter more than you might think.
For instance, a recreational or home tennis court generally needs around 200–300 lux (about 20–30 fc). That’s bright enough for casual games where precision and broadcast-level clarity aren’t necessary.
If you’re managing a club-level or training court, aim for 400–500 lux (40–50 fc). This level provides clearer visibility and minimizes motion blur when tracking fast serves.
For professional or tournament courts, lighting usually jumps up to 800–1000 lux (80–100 fc) or even higher. The reason? Broadcast standards often require even illumination and no flicker for TV cameras or slow-motion replays.
Here’s a quick reality check: a 1000 lux court uses about twice the brightness of a recreational one, but it can make a massive difference for players competing at a high level. Higher illumination helps spectators see the action more vividly and improves video quality for streaming — something many modern clubs care about now.
Color Temperature
Color temperature, measured in Kelvin (K), defines how “warm” or “cool” the light appears. Tennis court lights usually sit between 4000K and 5700K, and that range isn’t random.
A light around 5000K gives off a neutral white tone, very close to natural daylight. This helps players distinguish the yellow-green tennis ball against the blue or green surface easily. It also reduces eye fatigue during long evening matches.
Go lower, say 3000K, and the light starts to look warmer — almost golden. That might be nice for ambiance but not so great for visibility, since it can make the ball appear duller or slightly orange. Go higher, like 6000K, and the light looks almost bluish-white, which can feel harsh over time.
Most LED tennis lighting systems are calibrated around 5000K ± 300K, which gives a balanced, crisp tone and strong color rendering (CRI above 80). In simple terms, this means you’ll see the ball color and line markings exactly as intended, even at night.
Uniformity and Light Distribution
One of the easiest ways to ruin a game is by having uneven lighting — bright spots in one corner and dim shadows in another. That’s where lighting uniformity comes in.
Uniformity is usually expressed as a uniformity ratio, which is the ratio between the brightest and dimmest parts of the court. For good tennis lighting, you’ll want to stay under 1.5:1 for casual courts, and ideally 1.3:1 or better for competition-level setups.
To achieve this, designers use precise photometric simulations before installation. These simulations calculate beam spread, aiming angles, and light intensity to make sure the court surface is evenly lit from baseline to baseline.
For example, an LED floodlight with a 30° beam angle might be perfect for narrow coverage areas, while a 60° or 90° beam helps fill in central zones. Getting that mix right ensures that when you hit a deep lob or chase a drop shot, the lighting doesn’t suddenly change.
Uniform lighting also improves ball visibility and reaction time, since players’ eyes don’t have to constantly adjust between bright and dim zones. And when you’re playing doubles, that consistent brightness helps both sides feel balanced — literally.
Glare Control
If you’ve ever served into a blinding light, you already know how frustrating glare can be. Glare control is one of those behind-the-scenes details that can make or break a lighting setup.
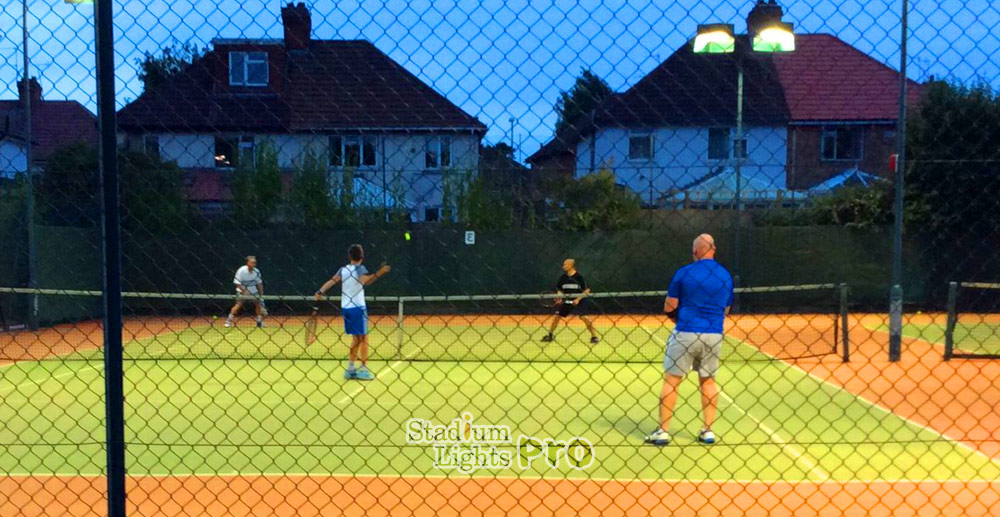
High-quality LED floodlights often include anti-glare shields, diffusers, or visors to keep light focused downward onto the court instead of spreading into players’ eyes. The placement and tilt angle of the fixtures also make a big difference.
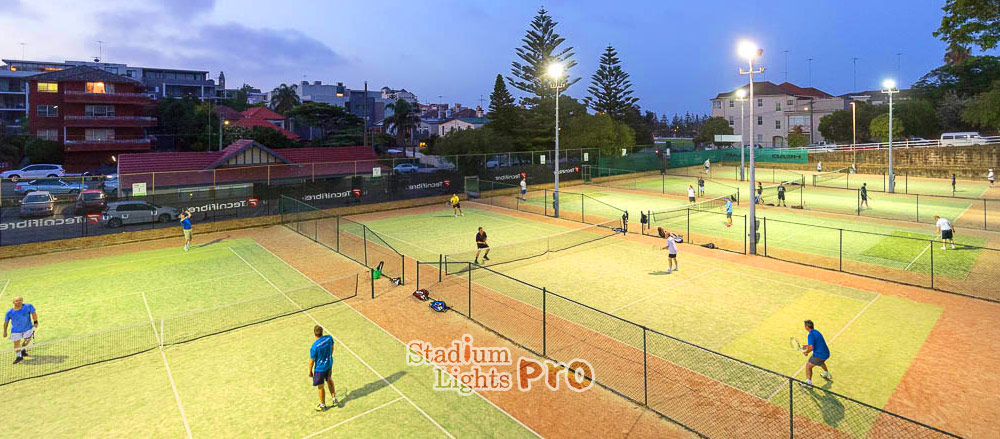
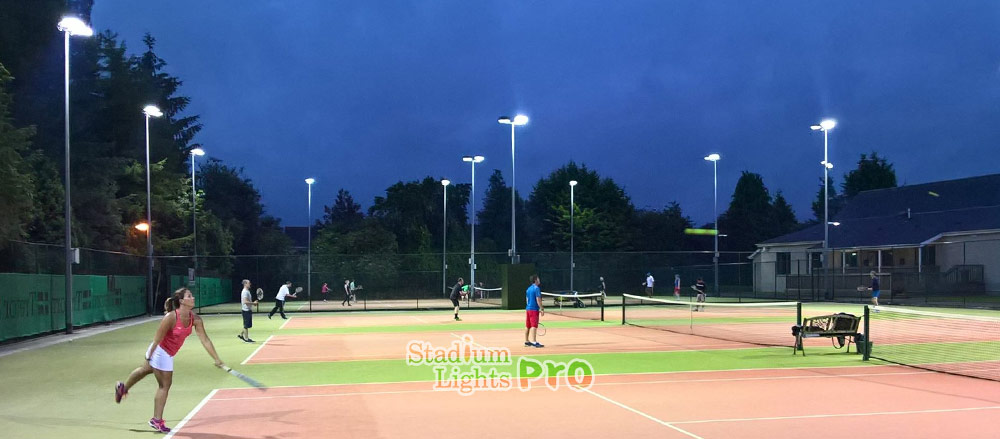
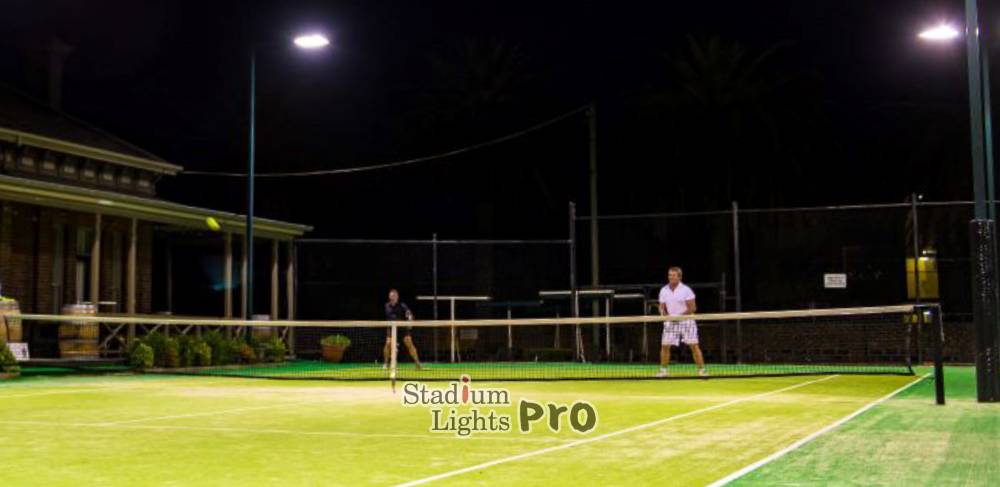
Typically, lights are installed on poles about 8 to 12 meters (26–40 feet) high and aimed at roughly 25–30 degrees toward the court. That angle allows the light to cover the playing area evenly while staying out of players’ direct line of sight.
Some advanced systems even use asymmetric beam designs, which means the light output is intentionally uneven in direction — it’s brighter toward the court and softer toward the audience or surrounding areas. This helps minimize light trespass (spill light that escapes beyond the court) and keeps neighbors or nearby streets from being overlit.
To give a sense of numbers, a high-end LED tennis fixture might have a Unified Glare Rating (UGR) below 19, which is considered very comfortable for sports lighting. Anything above 22–24 can start to bother players, especially during serves and overhead shots.
A Quick Note on Color Rendering and Visibility
Another term you might hear is CRI, short for Color Rendering Index. It measures how accurately light reveals colors. For tennis, you’ll want a CRI above 80, ideally around 85–90. A higher CRI makes the court surface, lines, and tennis ball appear more natural and vibrant. It’s especially valuable if you’re recording matches, since low-CRI lighting can make the footage look washed out or dull.
Combining the right lux level, uniformity, glare control, and color temperature means players can focus purely on their performance, not their eyesight.
| Level of Play / Usage | Recommended Lux (lx) | Recommended Footcandles (fc) | Color Temperature (K) | Uniformity Ratio (Max Bright : Min Bright) | Typical Pole Height (m / ft) | Glare Rating (UGR) |
|---|---|---|---|---|---|---|
| Recreational / Home Court | 200 – 300 lx | 20 – 30 fc | 4000 – 5000 K | ≤ 1.5 : 1 | 8 – 10 m (26 – 33 ft) | ≤ 22 – 24 |
| Club / Training Court | 400 – 500 lx | 40 – 50 fc | 4500 – 5500 K | ≤ 1.4 : 1 | 10 – 12 m (33 – 40 ft) | ≤ 20 – 22 |
| Professional / Tournament Court | 800 – 1000 lx | 80 – 100 fc | 5000 – 5700 K | ≤ 1.3 : 1 | 12 m (40 ft) or higher | ≤ 19 (comfort level) |
Lighting Layout Principles
Designing the right lighting layout for a tennis court is like setting the stage for the perfect match — every angle, pole height, and beam direction matters. The goal is to spread light evenly across the entire playing area while avoiding glare or dark spots that could distract players. Let’s break down how that’s usually done and what to keep in mind when planning your setup.
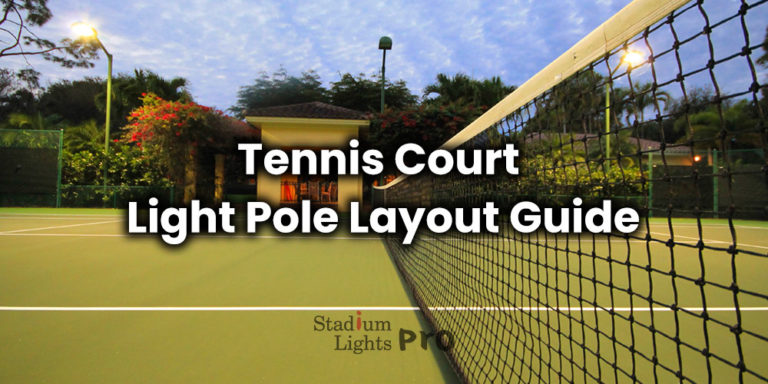
Number and Position of Poles
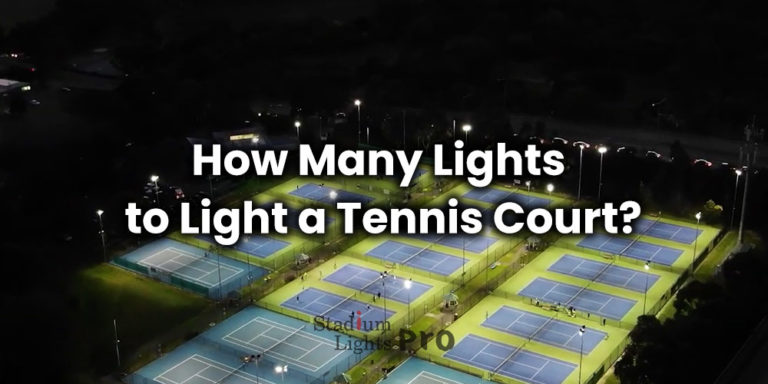
For a standard single tennis court measuring 23.77 meters long by 10.97 meters wide, the most common design uses 8 lighting poles — four on each side of the court. These are typically placed symmetrically, meaning both sides have the same height, spacing, and light angles to maintain uniform brightness.
Some smaller residential courts might get away with just 6 poles (3 per side) if high-efficiency LED fixtures are used, but that only works when the design ensures even light coverage. For double courts or side-by-side setups, designers often go with 12 to 16 poles so that light distribution stays consistent across both playing areas without overlap or shadowing in the middle.
In larger facilities, lighting engineers sometimes install corner-mounted poles angled toward the court center to help balance brightness near the baselines. This prevents the “dark pocket” effect that happens when poles are too far back or too low.
Pole Height and Placement
The height of the poles is another major factor. Most tennis courts use poles between 8 and 12 meters high (26–40 feet). Lower poles (around 8–9 meters) are fine for home or recreational courts surrounded by low fencing or nearby houses. Taller poles (10–12 meters) are better for clubs, public facilities, or professional courts where higher light uniformity and reduced glare are priorities.
As for placement, poles are usually installed 3 to 4 meters (10–13 feet) outside the sidelines and 2 meters (6–7 feet) beyond the baseline. This keeps them safely out of play and provides better light spread over the entire court. Placing them too close can cause glare or uneven patches, while setting them too far back can lead to brightness drop-offs near the middle of the court.
A well-balanced layout ensures that the light beams from opposite sides overlap smoothly at the center, creating an even horizontal and vertical illumination. Vertical light (the light coming from the sides) is especially key because it helps players see high balls during lobs or serves.
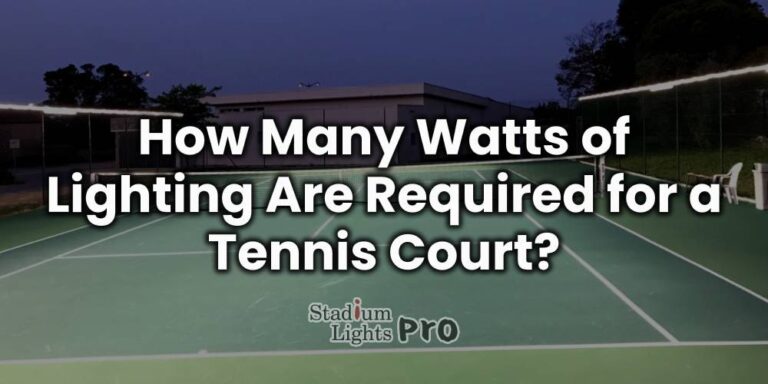
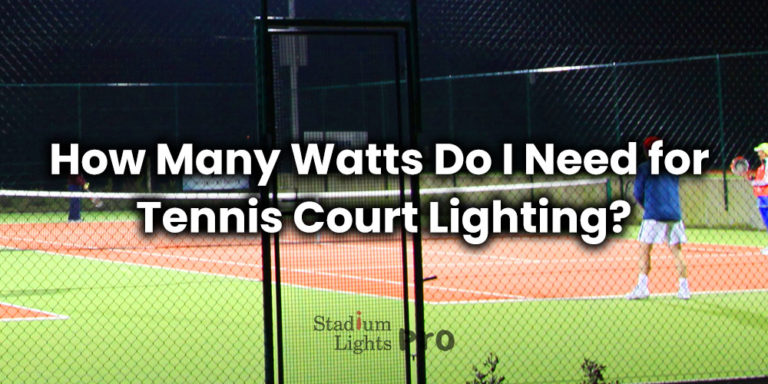
Wattage, Lumens, and Light Output
Now, let’s talk about the power and brightness of the lights themselves. Modern LED tennis lights generally range between 300 watts and 1000 watts, depending on the court’s level of use. A 300W LED fixture can produce around 40,000 lumens, while a top-end 1000W model might push up to 120,000 lumens.
That sounds bright — and it is — but higher wattage doesn’t automatically mean better lighting. What really makes the difference is the beam angle and optical distribution. For instance, a 400W LED fixture with a 60° beam can outperform an older 1000W metal halide lamp because it focuses light exactly where it’s needed instead of wasting it outside the playing area.
Most professional LED systems have specialized asymmetric optics, which direct more light toward the court and less toward the surroundings. That’s how they achieve both uniformity and glare control without increasing power consumption. In other words, it’s smarter light, not just stronger light.
Lighting Arrangement Options
There are a few common lighting arrangements depending on the type of court and environment. The side lighting layout — with poles running parallel to the sidelines — is the most popular and recommended for outdoor courts. It provides excellent visibility while keeping the center area free of poles and shadows.
For indoor tennis courts, fixtures are usually mounted on the ceiling or trusses, roughly 7 to 9 meters high, in a staggered layout to maintain even light coverage without interfering with the ceiling structure.
Some clubs also experiment with four-corner lighting systems, where powerful fixtures are mounted at each corner of the court. While this can look clean, it requires careful aiming and usually higher pole heights to prevent glare directly in players’ eyes.
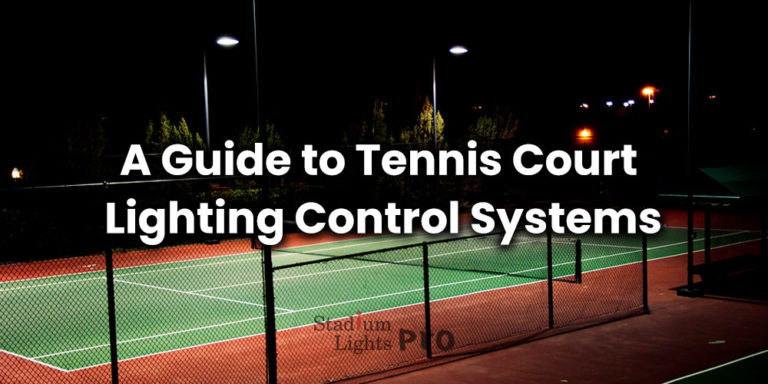
Energy Efficiency and Control Systems
Good lighting layout also considers energy efficiency and smart control. Many new tennis facilities use motion sensors, dimming systems, or programmable lighting schedules to save energy. For example, lights can automatically dim down to 50% brightness when the court is not in use or switch on gradually as players enter.
By combining efficient LED fixtures with intelligent controls, energy savings can reach up to 70% compared to older metal halide systems. It’s not just eco-friendly — it also means lower electricity bills and less strain on your electrical system.
Why Design Matters
It’s easy to underestimate how much layout affects gameplay. A well-designed system ensures that the court has balanced vertical and horizontal illumination, that players never lose sight of the ball, and that the background stays consistent. Poorly placed lights can create glare zones or cause uneven bounce shadows, both of which can throw off players’ rhythm.
A good rule of thumb is to get a photometric lighting plan done before installation. This plan simulates exactly how light will spread across your specific court dimensions. Many lighting manufacturers or contractors will do this for free when you order fixtures from them, and it can save you from costly adjustments later.
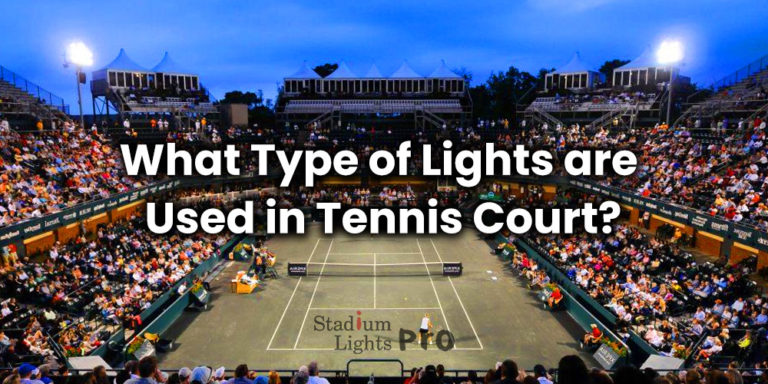
Common Types of Tennis Court Lights
When it comes to lighting up a tennis court, there’s more than one way to do it — but not all lights are created equal. Over the years, different lighting technologies have been used, each with its own strengths, weaknesses, and quirks. From the old-school mercury vapor lamps to modern, energy-saving LEDs, the choice you make affects not only how the court looks but also how much you’ll spend on electricity and maintenance in the long run.
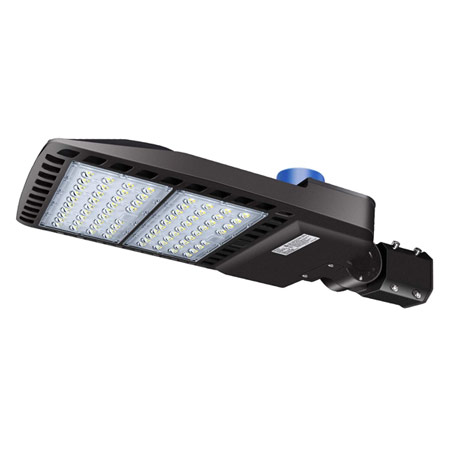
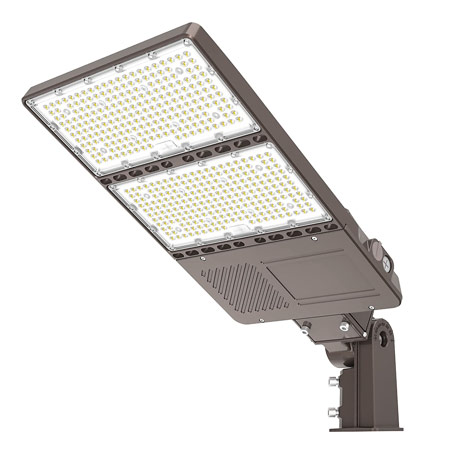
LED Tennis Court Lights
It’s no surprise that LEDs (Light Emitting Diodes) have quickly become the top pick for both private and professional tennis courts. They combine brightness, efficiency, and control in a way older systems just can’t match.
LED fixtures can last anywhere from 50,000 to 100,000 hours, which translates to roughly 15 to 25 years of use depending on how often the court is lit. That’s five times longer than a traditional metal halide lamp. Beyond lifespan, LEDs are also instant-on — no waiting for them to “warm up” like the old lights. Flip the switch, and the court’s fully lit in seconds.
In terms of performance, LEDs typically deliver lumens per watt (lm/W) ratios of 130–180 lm/W, which means they generate more light with less energy. For a tennis court that might run lights for about 1,000 hours a year, switching from metal halide to LED can cut electricity costs by 60–70%, sometimes saving $1,000 or more annually per court.
Another reason LEDs have taken over is their lighting quality. Most models offer a color rendering index (CRI) above 80 or 85, which gives players a clear, natural view of the ball and court lines. Many systems are also available in 4000K–5700K color temperature ranges, providing that bright, daylight-like feel players love for nighttime matches.
LEDs are also smart-friendly — you can integrate dimming systems, motion sensors, or programmable timers to automatically adjust brightness based on usage. Some facilities even set different modes for “training,” “match,” or “maintenance” lighting. It’s not just efficient — it’s flexible.
On the maintenance side, LEDs need very little attention. There are no bulbs to replace, and most units are sealed with IP65 or higher waterproof ratings, so they can withstand rain, humidity, and even coastal environments without corrosion. Over time, this reliability means fewer service calls and lower overall costs.
Metal Halide Tennis Lights
Before LEDs took over, metal halide lamps were the gold standard for sports lighting. They produce a bright, white light that many people still find pleasant and clear. However, they come with a few drawbacks that have made them less popular in recent years.
For one, metal halide lights have a warm-up time of about 5–10 minutes before reaching full brightness. If you turn them off — even accidentally — you’ll have to wait several minutes before they can restart, which can be frustrating during matches or events.
Their lifespan is also shorter, usually between 10,000 and 20,000 hours, and the brightness tends to degrade by 20–30% after just a few thousand hours of use. That means even if the light’s still working, it won’t be shining as strongly as when you first installed it.
From an energy perspective, metal halides are less efficient too, averaging about 80–100 lumens per watt. So while they can still provide good illumination, they burn more electricity and generate more heat. A single 1000W metal halide fixture might deliver around 100,000 lumens at first, but that output steadily declines, and the lamps require regular re-lamping every 2–3 years to maintain quality lighting.
One upside is that metal halide systems often have lower upfront costs — sometimes around 30–40% cheaper than LED setups. But once you factor in electricity and maintenance, LEDs almost always come out ahead after just a few seasons.
Mercury Vapor Tennis Lights
If you’ve ever walked onto an old community court with dim, bluish lights that make everything look washed out, you were probably playing under mercury vapor lamps. These were among the first types of discharge lamps used for outdoor sports, but they’re now considered outdated technology.
Mercury vapor lights have a very low luminous efficacy, typically around 40–60 lumens per watt, which means they waste a lot of energy as heat. Their color rendering index is also low, usually below 60, making it harder to see the true color of the ball or court lines — not ideal when precision matters.
They do last longer than metal halides, sometimes up to 24,000 hours, but the problem is that their brightness drops drastically over time. After a few years, the light can lose up to 50% of its initial output, leaving the court unevenly lit.
Because of these limitations — and increasing environmental restrictions on mercury-based lamps — most tennis facilities are phasing them out. Upgrading from mercury vapor to LED can reduce energy use by more than 70% while improving visibility and color accuracy. It’s a win-win that quickly pays for itself through lower energy bills and fewer replacements.
A Note on High-Pressure Sodium (HPS) Lamps
While not as common for tennis, you might still find high-pressure sodium lights on older courts or parking areas nearby. They emit a strong yellow-orange light, which is efficient but poor in color accuracy (CRI around 25–40). This color makes it hard to see the ball properly, especially at night. HPS lights are better suited for street or area lighting rather than sports applications. Most facilities that still have them are switching to LED as well.
Installation and Maintenance Guide
Even the best lighting system won’t shine the way it should if it’s not installed correctly. Proper installation isn’t just about getting the lights to turn on — it’s about setting them up to last for years, perform efficiently, and stay safe in all kinds of weather. A solid installation plan and consistent maintenance routine go a long way in keeping your court looking sharp and playable.
Planning Before Installation
Before a single pole goes up, it’s worth double-checking a few key things. Make sure your electrical infrastructure — including voltage, circuit capacity, and wiring — can handle the total load of the lighting system. Most LED tennis court lights run on AC 100–277V or 347–480V, depending on your region, so voltage compatibility is crucial.
Next, confirm your court layout and pole positions match the photometric lighting design provided by your lighting supplier. These plans show the precise mounting height, aiming angle, and orientation of each fixture to achieve proper uniformity and avoid glare. Even a small deviation of 5–10 degrees in aiming can cause uneven brightness or wasted light.
Also, consider environmental factors like wind load, humidity, and salt exposure (especially for coastal areas). High-quality galvanized steel poles or aluminum poles with powder coating are the go-to choices since they resist corrosion and can withstand wind speeds up to 140 km/h (about 87 mph). If your area is prone to storms, adding anchor bolts and foundation cages ensures the poles stay secure over time.
Mounting the Fixtures
When it’s time to mount the fixtures, make sure the brackets and bolts are rated for the fixture’s weight and wind load. Each LED floodlight can weigh anywhere from 10 to 25 kilograms (22–55 lbs), so stable mounting is non-negotiable. Most lighting technicians recommend positioning fixtures at an angle of 25–30 degrees downward toward the court center for ideal light spread.
After installation, it’s worth turning on the system at night to fine-tune the beam direction. Even a few degrees of adjustment can significantly improve light uniformity across the surface. For multi-court setups, ensure that adjacent poles don’t cause cross-glare or unnecessary light spill onto nearby courts or walkways.
Wiring and Safety Checks
Electrical safety should always come first. Use waterproof junction boxes and weather-resistant cable glands (rated IP65 or higher) to protect connections from rain and condensation. Grounding the poles properly helps prevent electrical surges or lightning damage — especially in open outdoor environments.
If you’re upgrading from older systems, remember that LED drivers (the small power converters built into the lights) might require different wiring or circuit protection than traditional HID ballasts. Always follow the manufacturer’s wiring diagram, and if possible, have a licensed electrician handle the installation. It’s not just about compliance — it ensures the system runs safely and efficiently.
Routine Maintenance
Once the lights are up, regular maintenance keeps them performing at their best. Even though LEDs require far less upkeep than older metal halide or mercury vapor lamps, they still benefit from a little care.
Clean the fixture lenses every 3–6 months, especially if your court is outdoors and exposed to dust, pollen, or insects. A layer of dirt as thin as a few millimeters can cut light output by 10–15%, which makes a noticeable difference at night. A simple wipe with a soft cloth and mild detergent usually does the trick — just avoid harsh chemicals that can cloud the lens.
Inspect the poles and brackets once or twice a year to make sure bolts haven’t loosened due to vibration or weather. It’s also smart to check for any corrosion or water ingress, particularly around the wiring enclosures. Catching small issues early can save you from bigger problems later.
Monitoring Performance
LED lights are known for their longevity, but it’s still a good idea to keep an eye on their performance. Most high-quality LED tennis fixtures maintain about 90% of their brightness even after 50,000 hours, but gradual dimming does occur over time. A quick visual inspection every few months helps spot any early signs of failure or uneven brightness.
Some modern lighting systems even come with smart monitoring options, where software tracks voltage, temperature, and lumen output. These systems can alert you if a fixture is underperforming or overheating — making maintenance almost effortless.
Replacement and Upgrades
Unlike metal halide lamps that need frequent bulb changes, LEDs rarely require full replacements. However, after 10–15 years, you might consider upgrading to newer models with higher efficiency or smarter controls. LED technology keeps improving, and newer units can offer 10–15% more light output while consuming less power.
If you ever replace a fixture, make sure the new one matches your existing photometric layout to keep the lighting uniform. Swapping one random fixture with a different beam angle can disrupt the balance of the entire court.
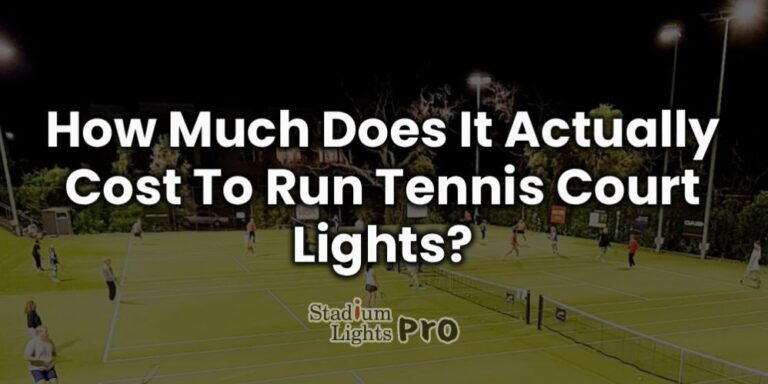
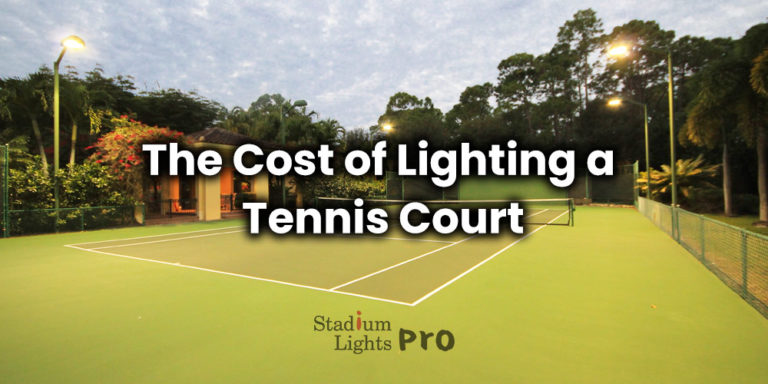
Cost of Tennis Court Lighting
When it comes to lighting a tennis court, costs can vary quite a bit depending on the court size, type of fixtures, pole height, and performance level you’re targeting. A basic home setup obviously won’t cost as much as a competition-grade court built to meet ITF standards, but it’s good to know what ballpark you’re in before starting. Let’s break it down into the main parts: the lights themselves, installation, ongoing running costs, and potential grants or funding options.
Light Cost
The biggest part of your budget usually goes into the fixtures. For a standard outdoor tennis court (23.77m × 10.97m), you’ll need around 8 high-quality LED floodlights or their equivalent in older technologies.
For LED setups, the cost typically falls between $8,000 and $20,000, depending on the brand, lumen output, beam angles, and smart control features. Entry-level residential systems might sit on the lower end of that range, while club-level or professional-grade LED fixtures — with advanced optics, anti-glare shields, and wireless dimming — can easily reach the higher end.
A metal halide system, by comparison, generally costs around $6,000–$10,000 upfront. That’s cheaper initially, but those savings disappear fast once you factor in higher electricity consumption and the need to replace lamps every couple of years. Over ten years, LEDs usually end up 30–40% cheaper overall, even though the purchase price is higher at first.
Another way to look at it: a 400W LED fixture might cost about $800–$1,200, but it replaces a 1000W metal halide lamp that not only costs roughly the same but also burns twice the power. That efficiency gap is what makes LEDs such a smart investment — they’re simply brighter per watt.
Installation Cost
Next comes the setup. Installation costs can range anywhere from $3,000 to $8,000 for a single court, depending on the complexity of the project. This usually includes poles, wiring, mounting hardware, electrical work, trenching, and labor.
If you’re building from scratch, expect the higher end of that range — new poles, concrete foundations, and trenching for underground cables all add up. On the other hand, if you’re upgrading an existing court, the cost can drop significantly. LED retrofit kits allow you to reuse existing poles and electrical lines, cutting installation costs by 30–50%.
It’s also worth noting that taller poles (10–12m) tend to increase installation expenses slightly due to the need for heavier foundations and sometimes a crane for mounting. But they can dramatically improve light uniformity, so it’s often a smart long-term trade-off.
Running Cost
Once your court is up and running, energy use becomes the next big factor. The good news is that LED lighting systems are incredibly efficient compared to older technologies.
A typical LED tennis court system consumes around 4–6 kilowatts (kW) total. If your local electricity rate is roughly $0.12 per kilowatt-hour, running the lights for three hours a night would cost around $1.50–$2.00 per session — or roughly $500–$700 per year.
By contrast, a traditional metal halide system might use 10–12 kW, doubling that cost to around $1,000–$1,500 annually. Multiply that by several courts, and you can see how quickly LEDs start paying for themselves. Over a decade, switching to LED can save as much as $8,000–$12,000 per court just in electricity alone.
LEDs also generate less heat and don’t need ballasts, so you’re saving on both cooling and maintenance costs too.
Maintenance and Replacement Cost
Another often-overlooked cost is maintenance. LED tennis court lights are designed to last up to 50,000–100,000 hours, which means you might not touch them for 10 to 20 years except for occasional cleaning. Metal halide or mercury vapor lamps, on the other hand, need bulb replacements every 2,000–5,000 hours, costing both time and money.
Each metal halide bulb can cost $60–$150, and if you’re replacing eight or more at a time, plus labor for a lift or technician, that adds up quickly. LEDs eliminate nearly all of that hassle — and since they maintain about 90% of their brightness even after years of use, the quality of light stays consistent too.
| Category | LED Lighting System | Metal Halide System | Comparison |
|---|---|---|---|
| Light Cost (Fixtures Only) | $8,000 – $20,000 per court | $6,000 – $10,000 per court | LED costs more upfront but is 30–40% cheaper long-term due to lower energy and maintenance costs |
| Typical Fixture Output | 400W–1000W (≈ 40,000–120,000 lumens) | 1000W–1500W | One 400W LED can replace a 1000W metal halide |
| Fixture Lifespan | 50,000 – 100,000 hours | 2,000 – 5,000 hours | LEDs can last 10–20 years; metal halides need frequent bulb replacements |
| Installation Cost | $3,000 – $8,000 | $3,000 – $8,000 | New builds cost more; retrofits save 30–50% by reusing poles/wiring |
| Energy Consumption (per court) | 4 – 6 kW total | 10 – 12 kW total | LEDs use about 50–60% less power |
| Running Cost (approx. per year) | $500 – $700 (3 hrs/night) | $1,000 – $1,500 (3 hrs/night) | Based on $0.12/kWh average electricity rate |
| Maintenance / Replacement | Minimal — occasional cleaning | Frequent lamp changes | Metal halide bulbs cost $60–$150 each, plus labor for replacement |
| Expected Savings Over 10 Years | — | — | Switching to LED can save $8,000–$12,000 in electricity per court |
| Overall Lifespan Cost Efficiency | High — lower total ownership cost | Low — higher operating expenses | LEDs pay for themselves within 3–5 years through energy savings |
Grants and Funding Opportunities
Lighting upgrades — especially those involving LEDs — often qualify for energy efficiency rebates or sports development grants. Many local governments, sports federations, and utility companies have programs to encourage energy-saving upgrades.
For instance, some regions offer rebates of up to 25–40% on LED lighting projects that meet energy efficiency standards. In the U.S., the Department of Energy and some state-level programs fund outdoor sports lighting retrofits as part of community sustainability initiatives. In other countries, sports councils or environmental funds may offer similar support.
If you’re managing a public or club facility, it’s worth checking with your municipal recreation department or local energy authority — you might qualify for a rebate or grant that covers part of your upgrade cost. Even private facilities sometimes get financial support if the project reduces carbon emissions or promotes local sports participation.
Tennis Court Lighting: Frequently Asked Questions
Tennis court lighting can get pretty technical, especially when you start diving into lux levels, pole heights, and fixture types. To make things easier, here are some of the most common questions people ask when planning or upgrading their tennis court lighting — explained in plain language.
How much light is actually needed for a tennis court?
The recommended illumination level depends on what kind of play you’re hosting. For most courts, the sweet spot is between 50 and 70 footcandles (roughly 500–700 lux). Recreational or private backyard courts can get by with a bit less, around 30–50 footcandles, while professional or tournament-level courts often aim for 80–100 footcandles to ensure crystal-clear visibility for both players and spectators.
The court surface also matters — darker or matte surfaces usually need slightly more light to look evenly lit, while lighter surfaces reflect light better and may need less.
What type of lighting works best for tennis courts?
These days, LED lighting is hands-down the most popular option. LEDs are incredibly energy efficient, lasting up to 50,000–100,000 hours, which means you might not have to replace them for 10–15 years. They offer bright, consistent illumination, instant startup (no warm-up time like metal halides), and lower energy bills — often saving 60–70% compared to older systems.
Other types like metal halide or mercury vapor lights were common in the past, but they’re quickly being phased out due to shorter lifespans, higher maintenance, and less stable color performance.
How much does it cost to install tennis court lighting?
Costs can vary depending on whether you’re lighting a single private court or a full facility. Generally, a full installation — including fixtures, poles, wiring, and labor — can range from $5,000 to $25,000.
If you’re going with a high-end LED system designed for competitive play, expect to be on the higher end of that range. Retrofitting an existing system with LED lights, however, can bring the cost down significantly, especially if you reuse the same poles and electrical setup.
How do you maintain tennis court lighting?
Maintenance keeps your lights running safely and efficiently. For LED systems, maintenance is fairly minimal — just clean the fixtures every few months and check the mounting hardware once or twice a year.
For older metal halide or mercury vapor systems, it’s a bit more involved. You’ll need to replace lamps roughly every 2,000–5,000 hours and check the ballasts regularly. Even a light layer of dirt can reduce brightness by 10–15%, so occasional cleaning really pays off.
Are there any rules or standards I need to follow?
Yes, definitely. Tennis court lighting needs to meet certain standards and regulations to ensure safety and playability. The International Tennis Federation (ITF) and USTA have recommended illumination levels, uniformity ratios, and glare control guidelines.
You’ll also need to follow local building and electrical codes, especially for outdoor installations. These rules often dictate things like pole height, wiring standards, and light spill limits, so it’s best to have a qualified installer review your local requirements before starting.
Can I install tennis court lighting myself?
Technically, yes — but it’s usually not a great idea unless you have electrical experience and access to proper tools and lifts. Tennis lighting systems involve high-voltage wiring, heavy fixtures, and precise aiming angles that require professional calibration.
Hiring a licensed lighting contractor ensures everything is safe, up to code, and properly aligned. A poorly installed light might look fine at first, but even a small aiming error can lead to uneven brightness and glare issues later.
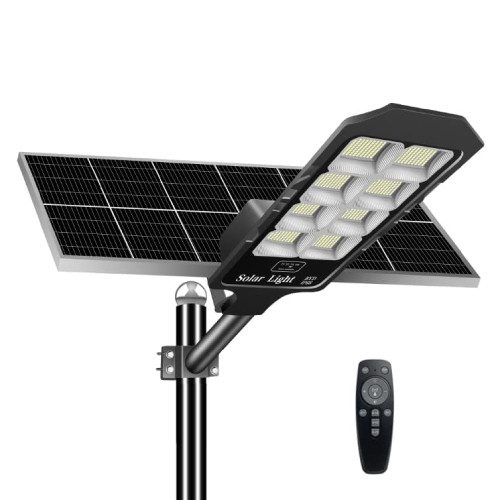
Can I use solar-powered lighting for a tennis court?
Solar-powered lights are becoming more popular, especially for eco-conscious facilities or remote locations without easy grid access. They can definitely work — but they do have limits.
Solar systems depend heavily on sunlight availability and battery capacity. They might not produce as much brightness as grid-powered LEDs, especially during cloudy weeks or winter months. For casual or community courts, solar can be a great option, but for competitive play, you’ll likely want wired LED systems to guarantee consistent performance.
Can I upgrade my existing tennis court lighting system?
Absolutely. Upgrading to LED is one of the most common improvements for older tennis facilities. The process usually involves replacing outdated fixtures and drivers while keeping the same poles and wiring.
LED retrofits can cut energy use by up to 60%, improve uniformity, and dramatically reduce maintenance needs. Plus, many modern LED fixtures are designed as “plug-and-play” replacements for older metal halide systems, making the transition smoother and faster.
Can I control my court lighting remotely?
Yes — most modern LED systems come with remote or smart control options. You can switch lights on and off, adjust brightness, or even schedule them to turn on automatically at sunset. Some systems also integrate with mobile apps or smart timers, giving you complete flexibility without needing to walk over to a breaker box every night.
Can I add timers or dimmers to my lighting setup?
Definitely. Timers are great for scheduling lights to switch off automatically after a set time, saving energy when courts aren’t in use. Dimming controls let you adjust brightness for different settings — for example, lowering light levels during training sessions or early evenings.
If your current system doesn’t have these features, many LED models allow them to be added later with smart controllers or DMX systems.
Can I use colored lighting on my tennis court?
Yes, you can! Adding colored LED lights or RGB fixtures can create a fun, unique atmosphere — perfect for events, exhibitions, or special occasions. Some clubs even use colored lights to highlight walkways or seating areas without affecting gameplay.
Just keep in mind that for actual play, neutral white lighting (around 5000K) still works best for visibility and ball tracking.
Can you install lighting on grass or clay tennis courts?
Yes, lighting can be installed on grass or clay courts — but the design approach might differ from hard courts. You’ll want to ensure the installation minimizes disruption to the surface and that poles are placed securely outside the play area.
Because these surfaces tend to reflect light differently, the system may need adjusted beam angles and color temperatures for balanced illumination.
Can LED lights be used on synthetic surfaces?
Yes, LEDs work perfectly on synthetic courts like acrylic or cushioned surfaces. In fact, LEDs are the preferred option for most synthetic courts because of their consistent color rendering and low heat emission, which helps preserve the surface condition over time.
Can I use tennis court lighting indoors?
Yes, you can use tennis lighting systems indoors, but the setup will be slightly different. Indoor courts typically have lower mounting heights and no need for weatherproof fixtures, but you’ll still want to focus on uniformity and glare control.
Since ceilings and walls can reflect light differently, it’s best to use a custom photometric plan for indoor applications. Properly designed LED systems can make indoor play feel just as bright and natural as outdoor daylight.
Conclusion
Good tennis court lighting isn’t just about brightness — it’s about creating the right atmosphere where every serve, volley, and rally feels effortless. Whether you’re setting up a private backyard court or managing a full club facility, investing in well-designed LED lighting brings real value: better visibility, lower bills, and years of reliable performance.
With the right layout, installation, and a bit of maintenance, your court can stay beautifully lit night after night. So when the sun goes down, your game doesn’t have to — because great lighting keeps the energy alive, long after daylight fades.